

Reusing Mats: Notes, Benefits, Costs, Tips and Tricks
All-in-One mats do a great job blocking weeds and saving water. For me, they pay for themselves the first time I don’t have to weed, but for the sake of the environment the payback is murky. Is the time savings worth the environmental cost? Is the plastic worth the expense? I am often asked about using the mats for more than one season. I want to share our observations about what we see in the field, provide some suggestions for reuse, and talk a little about the pros and cons of using plastic in the garden. I will cover the environmental arguments in another newsletter/post.
In any scenario whether you reuse your film for two years, or don’t, you can of course reuse the fittings and tubing that you have on hand.
Notes
Multi-season Use: Left in Place.
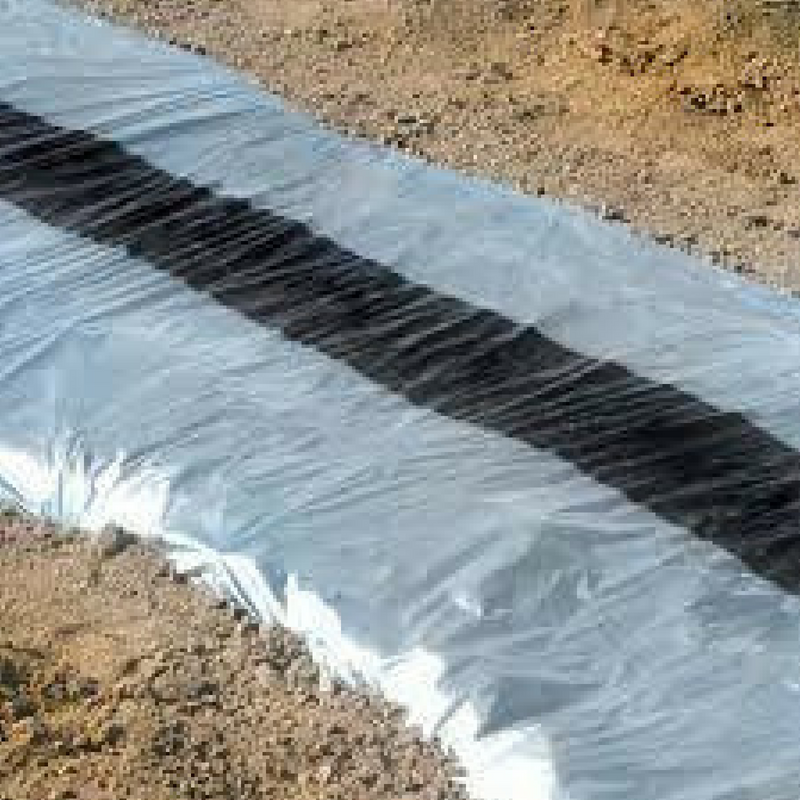
Our test installations have lasted multiple seasons. In one instance the soil was prepared, and the plastic was placed in fall with holes left in place such that the covered bed would be ready for early spring planting. In another instance planting occurred in the fall and growth continued into the next season. The field is in full sun in a windy location. The plastic may have been protected by snow for part of the season. In our installations, we did not remove and reinstall the plastic, and we installed the mulch by burying the edges with soil. The mats left in place performed well despite extended exposure to sunlight.
Multi-season use: Removed and Reuse
Other customers have taken pains to take up and reuse their mats after the first growing season. This makes lots of sense--the mats are not exposed unnecessarily to sunlight or insect and pest damage, and the garden beds are left exposed for treatments in the spring such as tilling, or adding nutrients. Despite the increase handling required by the removal and replacement efforts, these installations also have performed well in the second season.
Benefits of two-year use
Obviously, if you can use your mat for two years your cost is lower by about ½.
And, ½ the plastic means ½ the plastic waste and ½ the environmental impact. If you are leaving our plastic in place over winter you also get ½ the effort for installation since you have a single installation rather than two.
Cost of two-year use
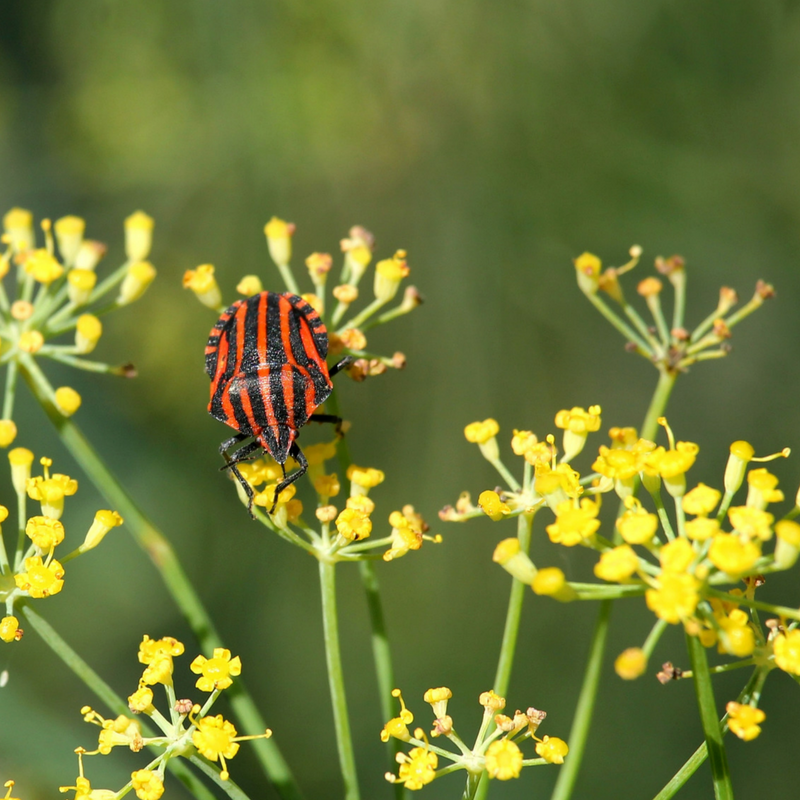
In using the plastic for two years you do lose a few advantages in use flexibility and increased likelihood of damage. You will be required to use the same planting holes or leave them exposed to the elements which will increase your weeding efforts in the future--or perhaps covering the holes with other opaque materials (humm-I wonder if black polypropylene packing tape would do this job?) . The plastic will become more brittle as sun exposure increases and may become more difficult to remove in the second season if you have buried the edges into the soil. This is because the plastic will pull apart when you tug on it to remove it. Finally, you may find that pests have invaded your drip tubing during the winter and need to be dealt with before your drip lines run well again.
Tips and Trick for Installation of Two-Year Use Plastic Mulch
If you plan on using your All-in-One Mats for a second year and don’t mind working around the reduced functionality of the opened plant holes, here are some suggestions.
- Avoid edge burial in the first year. Edge burial is the most robust method of securing your mat. It makes the best moisture barrier, and provides the best wind uplift protection. But removing an edge secured mat puts the plastic under stress and should be avoided, instead use one of these methods to secure mat edges:
- Ok: use landscape staples (also called sod staples) 4”x1” minimum, 6”x1” best.
- Pro: easy to remove and install when ground is soft
- Con: can tear free of mat in high winds--use enough to prevent this--say every 18 inches.
- Good: weight the edge with rocks, lumber, etc.
- Pro: easy to remove
- Con: makes for a lumpy edge that is hard to mow around.
- Great: rebar laid on edge
- Pro: really easy and secure, easy to mow around
- Con: costly --say $5-6 for 20 feet, hard to cut.
- Great: use landscape staples combined with thin bamboo or similar item light, rigid item. Lay the bamboo flat on the edge of the mat, and pin it in place with a staple every 24 inches.
- Pro: provides a great seal, easy to mow around, light and inexpensive.
- Con: this is a great alternative to rebar and only slightly more time consuming to install.
- Flush and seal your drip lines at end of season. Bugs will go into your drip tubing and clog it if you don’t take care of it. You must seal each end or some critters will lay eggs inside.
- Dry everything before storage. Drying will prevent growth of various algae and gunk that can clog drip emitters.
Plastic Mulch Removal Tips
A customer offered this tip to easily lift spent plastic mulch secured by edge burial. Slit the mulch down the middle, and pull each half toward the side of the bed. This causes the buried edge to spill its soil and come free. It works much better than trying to pull the mulch along the length of the bed due to the spilling action.

1 comment
I love reading these articles because they’re short but inoremativf.